To fill the rink, you will need the following:
This is a basic set of devices with which it will be possible to make a smooth ice coating. Some craftsmen collect special designs for accurate and uniform watering of the site with water, but you can cope with the task without complex mechanisms.
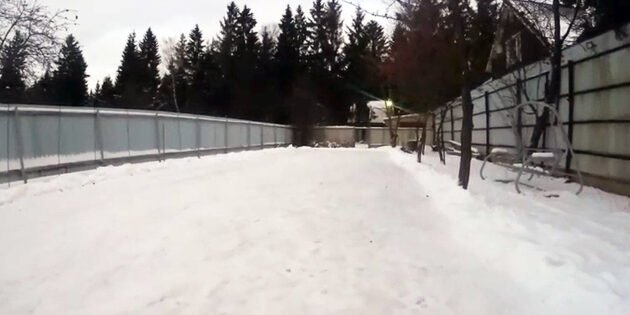
For a homemade ice rink, a plot in the courtyard of your own house or cottage is best suited.
The surface to be filled in should be as hard as possible so that the ice is evenly placed on it and cracks less. In place of the lawn, it is better not to make a skating rink — a dense crust will limit the access of oxygen and ruin plants in early spring if it does not have time to melt. Also, do not ride on a frozen pond, it is fraught with getting into icy water. The ideal option for pouring is an asphalt surface, but dense soil can also be used.
The surface of the plot should be flat and without noticeable height differences, the pits can be covered with snow. It is good if the skating rink is located at a sufficient distance from the house so as not to interfere with walking. At the same time, it is not necessary to leave too much distance, otherwise it will be difficult to bring a hose for watering and a wire for lighting.
Make sure that there are no communications and hatches in the selected area, as well as sharp objects and structures that can be dangerous to health in case of your fall or departure outside the rink.

Determine the boundaries of the future skating rink and form snow rollers along its perimeter so that water does not spill out of the site. Level the surface, remove all excess from it. Tamp the snow with a wide shovel, the thickness of the snow layer should be from 20 cm. You can additionally lay a plastic film on top — it will not allow water to soak in. After that, it is necessary to leave the site in the cold for about a day so that the snow cover freezes and thickens.
The shape of the filled area can be any, but the most convenient options are a rectangle or an oval. Of course, you can come up with something else. For example, to make several wide platforms with paths connecting them.
If you fill the rink for the first time, then first use a small area — approximately 5 × 5 or 4 × 6 m. Such an area should be enough for both children and adults.
It is desirable that there is no precipitation and strong wind on the day of filling, and the temperature does not rise above -5 °C. It is better to get down to business in the evening. Usually it's colder at night, so the layers will freeze faster.
You will need a lot of water, you need a source with a permanent connection. It is also possible to carry buckets and tanks, but this will slow down the whole process and spoil mood. Use a hose connected to a tap or well.
The selected area must be filled with cold water three to four times with a break after each call. The ice layers should be about 2 cm high. At a temperature of -5 ° C, you will have to wait for a couple of hours, at -10 ° C, an hour will be enough.

During the water supply, direct the hose upwards at an angle of 40-45 ° so that the liquid is distributed evenly. A fan effect will help to create a spray nozzle. Do not pour water in a straight stream — the coating will be crooked. Start from the far edge of the plot and gradually move to the near part. It is better to serve the liquid with an average pressure, so as not to damage the base snow layer, and at the same time not to delay the process for a long time. It is important to completely fill the entire selected area and carefully monitor the hardening crust.
Before each new filling, clean the surface with a mop or shovel and seal up the cracks with wet snow. As a result, the total thickness of the ice should be at least 10-12 cm. Fill the ice rink with warm water for the last time. This will help to align the top layer.
In case of severe frost , it will be possible to fill the skating rink in one day. At a temperature of about -5 ° C, you will have to wait longer and work on the ice coating for a couple of days.

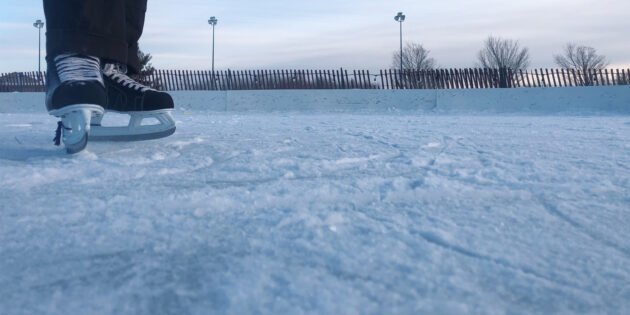
For comfortable riding on the smoothest possible surface, it is important to carefully sand and level the ice. Sanding can be done with a conventional flat mop. To do this, moisten the cloth with warm water and evenly treat the entire frozen surface.
Snowfall can create such a dense layer that you will not be able to ride. Therefore, it is important to remove snowdrifts in a timely manner.
From active riding on the surface there will be traces and potholes. Also‑ irregularities may appear due to warming. To eliminate such cracks, use cold water: you need to pour snow into the container, add water to it, and then fill in all the damage. After freezing, treat the surface with a metal scraper and fill in a new layer of the roller if the pits are too large.

To play ice hockey with a puck, it is desirable to make walls‑sides. To do this, you can use, for example, a wooden or plastic picket fence, having built a fence around the entire site.
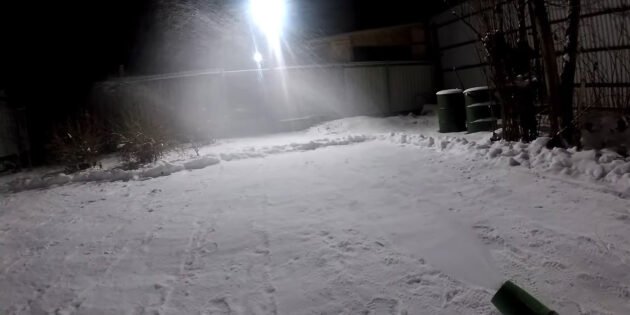
If you want to spend longer at the skating rink or gather a company for active fun in the evening, it is worth providing lighting for the flooded area. It is good if there are already lights on your territory, but if there are none, then you will have to bring a wire and connect a searchlight or street lighting devices. They can be fixed on a post or fence. As an alternative or additional light source, a street garland is suitable.