This is a high-precision measuring device with which you can determine the linear external and internal dimensions, as well as the depth of the holes. It is not as familiar to us as a ruler or roulette, and at first glance it may seem incomprehensible. In fact, the instrument is a little more complicated than the mentioned devices.
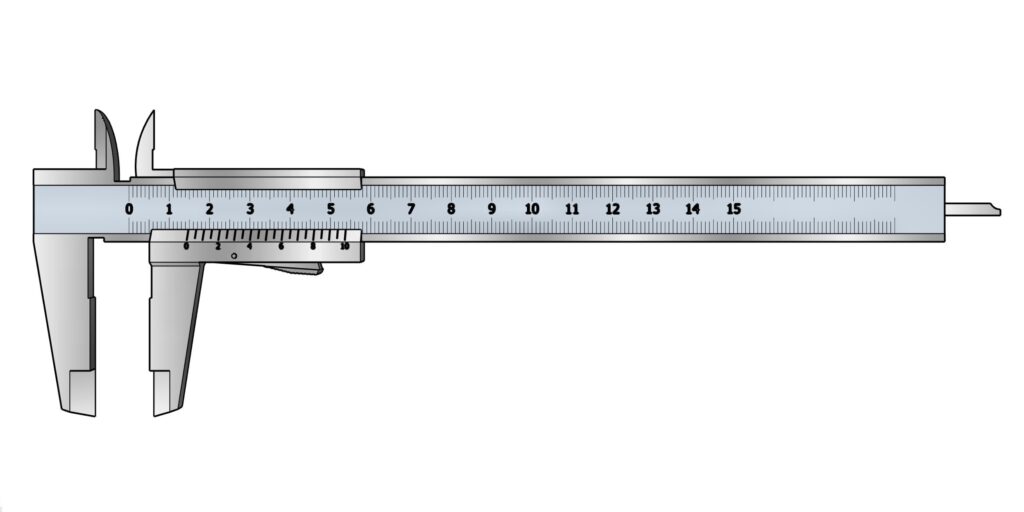
The caliper is based on a bar with a scale in millimeters, which is why it got its name. There are sponge protrusions on opposite sides of the rod for external and internal measurements. The mating parts of the sponges are located on a movable frame with an auxiliary vernier scale, which moves along the main one. In addition, the caliper has a depth gauge ruler and a lock in the form of a screw or button.
When measuring, the part is inserted between the outer sponges, or the inner sponges (or depth gauge) are inserted into the part itself, after which the resulting size is read: integer values millimeters from the main scale, fractional values from the vernier. The measurement accuracy depends on the calibration of the additional scale and can be from 0.1 to 0.02 mm. Usually, the division price is indicated on the case.
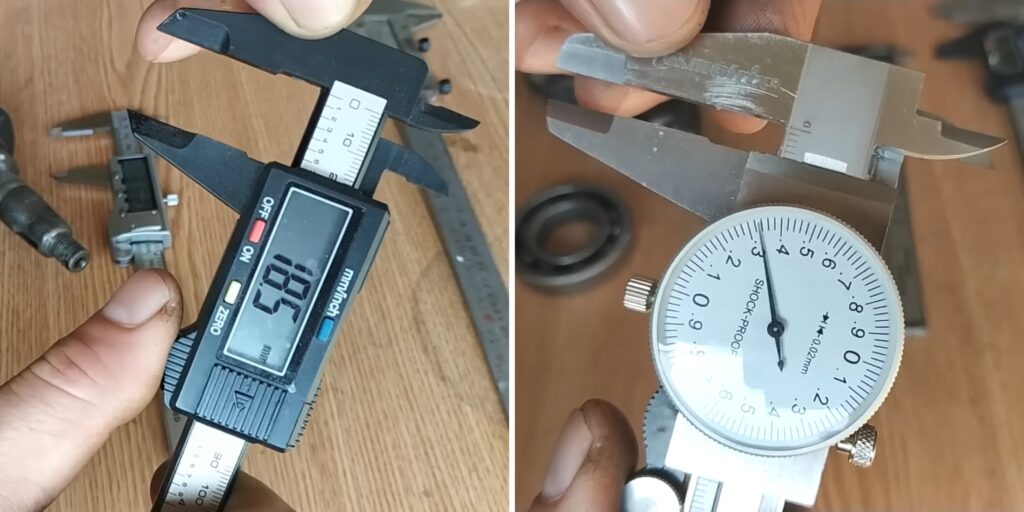
In addition to the classic mechanical caliper described above, there are also varieties with a dial and a digital screen. The differences in them are only in the way of reading readings — they are much simpler and do not cause difficulties.
As already mentioned, it is easy to recognize any linear size with this device. The outer sponges can measure the thickness of sheet metal, the diameter of the drill, the thread on the bolt. Internal — the diameter of the pipe from the inside, the thread of the nut, the size of the inner bearing cage. The depth gauge will help you determine the depth of holes or grooves in the parts, as well as the size of the ledges.
The size reading does not depend on which sponges or depth gauge are used, but for clarity and better understanding we will analyze each specific case of measurements: external, internal and depth.
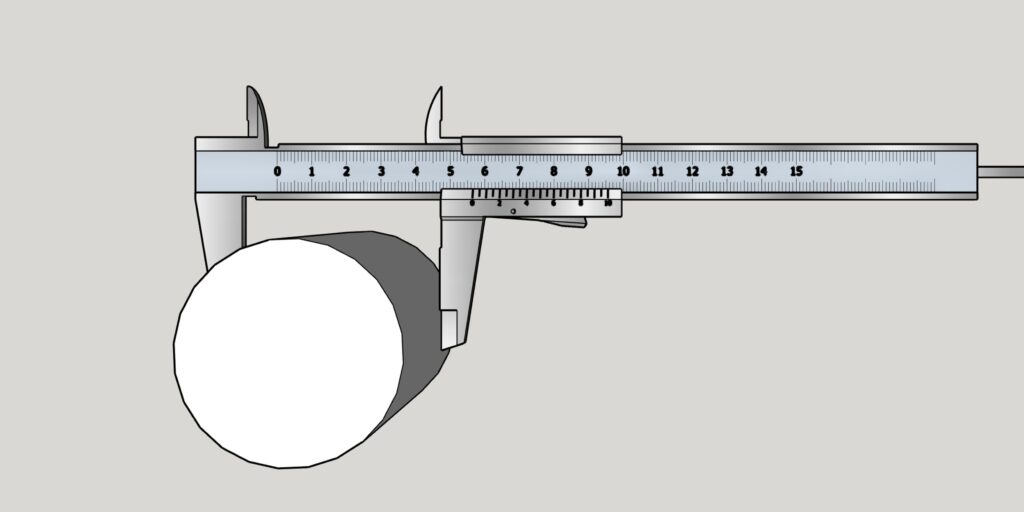
Holding the caliper perpendicular to the measured part, place it between the lower jaws and bring them all the way down, but without excessive effort, then fix the frame.
Carefully remove the part and count the number of drawings of the main scale to the left of the zero mark on the vernier. This will be an integer value in millimeters. In our example, it is 56 mm.
Take a close look at the vernier scale and find the division that most clearly coincides with any risk of the main scale. This will be a fractional size in fractions of a millimeter. In the example — 0.45 mm. If the coinciding division turns out to be a zero mark, then the measured part has a size in whole millimeters without a fractional part.
Finally, add both values obtained to find out the exact size. In the described variant, you will get 56 + 0.45 = 56.45 mm.
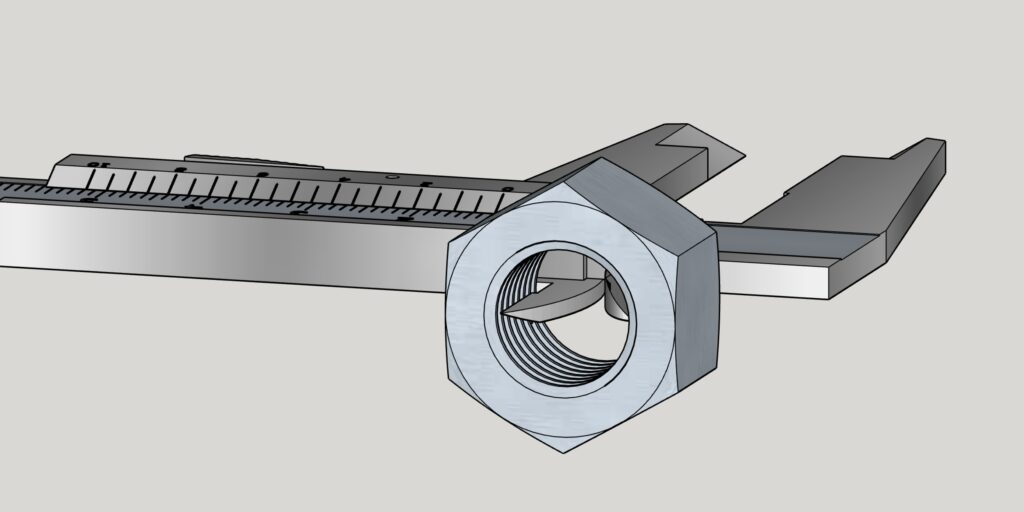
Insert the upper, sharp lips of the caliper into the measured part and spread them all the way, trying to maintain a position perpendicular to the surface. Fix the frame.
Now take a look at the auxiliary scale and determine which of its divisions corresponds as clearly as possible to the risks of marking up the main scale. This will be the size in fractions of a millimeter. In the example, 0.8 mm.
Next, add up the whole and fractional measurements to get the exact size. For us it will be 12 + 0.8 = 12.8 mm.
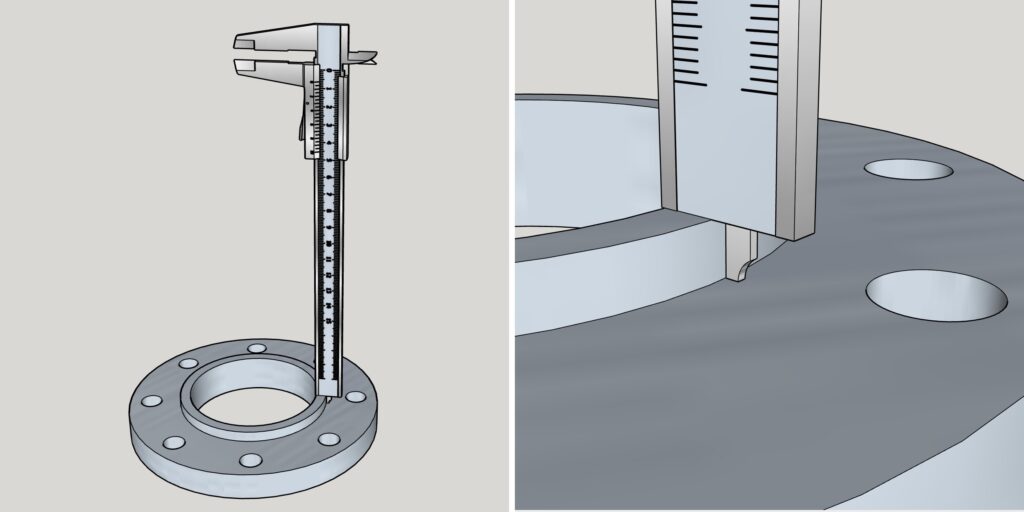
Open the caliper to release the depth gauge ruler with a margin. Place it over the hole or ledge of the part and lower the main scale until its end rests against the surface. After that, fix the frame.
Carefully pull out the tool and see how many divisions of the main scale reach the zero mark of the vernier. This is an integer number of millimeters. In the example above, it is 6 mm.
Next, take a look at the vernier and determine which of its divisions exactly matches any risk of the main scale. This will be a fractional number of millimeters. We have 0.3 mm.
Finally, add up the measurements obtained from both scales to find out the exact size. In our example, 6 + 0.3 mm = 6.3 mm comes out.