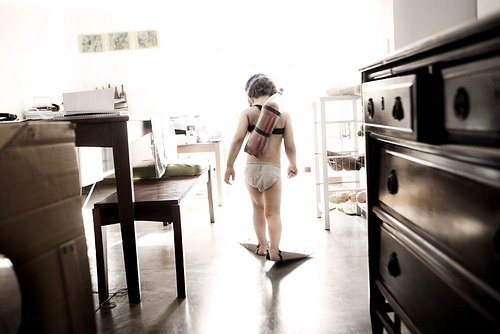
Switch the camera to aperture priority mode. This will allow you to control the depth of field, which is important if you are taking a portrait. Set f/5.6. So the child's face will be in the center of attention, and the background will be out of focus (unless, of course, the child is standing close to the wall). During the shooting process, you can adjust the aperture number to achieve the desired result. If there is no aperture priority mode on your camera, then there is probably a portrait mode, which also gives the effect of a slightly blurred background.
— 2 —
The ISO parameter (photosensitivity) will depend on where you are shooting — outdoors or indoors. Set the ISO to 200 (preferably lower if there is a lot of light). If you shoot in a dark place, at a long shutter speed, then increase the ISO value, but not more than 800, otherwise "noise" will appear in the photo.
— 3 —
Keep an eye on the length of exposure. 1/200 seconds will do. If children run, then set the shutter speed to 1/500 or even more. If you can't cope with the shutter speed in any way and the photos get blurry, then just switch the camera to sports mode.
— 4 —
Set a single-point autofocus, this will allow you to see what you are specifically focusing on, which is important when shooting constantly moving children.
— 5 —
If you plan to additionally process photos after shooting, save them in RAW format, it gives you more editing options. If you will not process the pictures, save them in the usual JPEG.
— 6 —
Try to use the built-in camera flash less often. If you have an external flash and you are shooting indoors, point it at a white ceiling or wall to get reflected light, or use a diffuser. But it's best to use natural lighting — so you don't have to worry at all about how to properly direct the flash. However, when shooting in the sun, think about using a fill flash.
How to set up the camera correctly: the 6 most common difficulties →
— 1 —
When shooting children, you need to create an atmosphere in which they will feel as comfortable as possible. Before the photo shoot, chat with them. Show them the photos you just took, let them see the camera. And older children can even be allowed to take a few shots themselves. The more at ease the child will feel with you and with the camera, the better the photos will turn out.
— 2 —
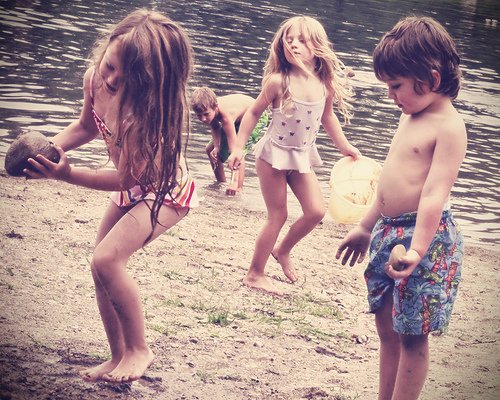
If possible, come up with 2-3 places for a photo shoot in advance. If you have several hours, then one place can be on the street (for example, a park), one indoors (a bedroom or a playroom). You can also choose a simple background — for example, a bright wall — to take some staged shots. Choose the places where children will have fun, and you will be able to shoot them in a natural game environment. You can even go to the zoo, to the beach or take them with something else interesting.
— 3 —
Be sincere with children. Ask them to do what they love and snap the camera. You can ask them to stop and look at you from time to time, but soon you will see many moments during the game that you can capture without distracting the children from the lesson.
— 4 —
Older children can pose for you, and such pictures often turn out even better than non-stop ones. It is so difficult to shoot small children because they lack the ability to concentrate attention, but they always smile with their widest smiles even without posing.
— 5 —
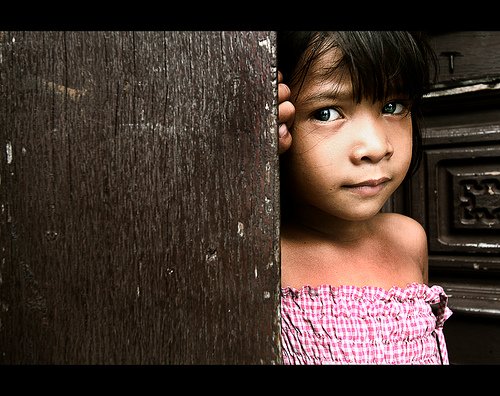
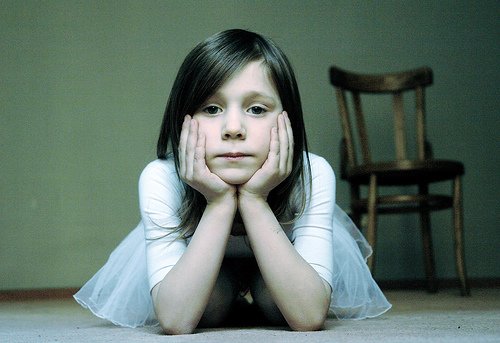
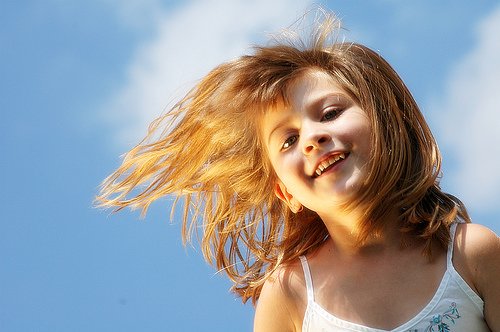
If you are photographing an ordinary child, then almost certainly his height is half that of yours. Photographing from the position of an adult, looking down from top to bottom, you will get pretty average pictures. Lower yourself so that your camera is at the level of the child's eyes or even slightly lower, and the photos will turn out warmer and more natural.
— 6 —
However, sometimes shooting from the top down, on the contrary, can give a very interesting result, as well as shooting from the bottom up. Experiment!
— 7 —
Come closer or use the zoom. The optimal focal length is slightly more than your height. Sometimes it's worth capturing the surrounding environment in the frame, but the child's face should be the main thing in the photo, because this is the most interesting thing for those who will look at the photos.
— 8 —
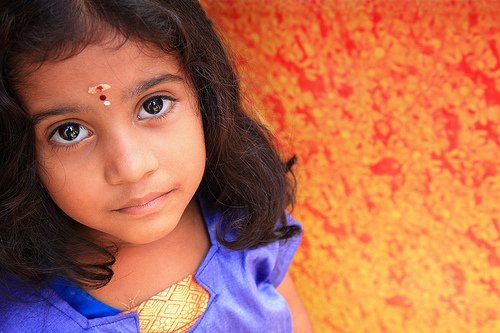
Focus on the eyes. If you have point autofocus installed, then select the eyes as the focus point. Even if the other features of the child's face are not quite right, it's not scary, because all the attention of the audience will be riveted to the eyes, so sincere and open.
— 9 —
Pay special attention to the background. Before removing, remove all unnecessary items and mask the flaws. Choose at least one location with a bright monochrome background, you can use paper or fabric for this. Or create such lighting so that the background is not noticeable. Take some photos where the child will pose for you specifically.
— 10 —
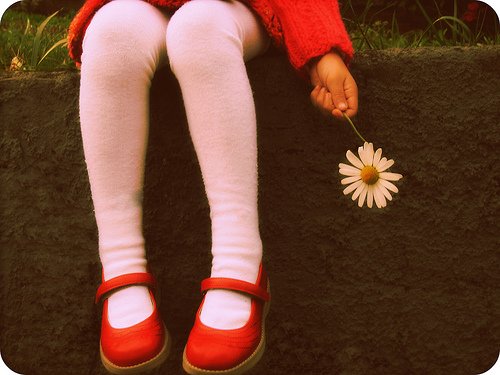
Try to make some abstract frames. For example, take a picture of only half of the face, take a close-up of the eyelashes, shoes or hands of the child. The result can be very interesting.
— 11 —
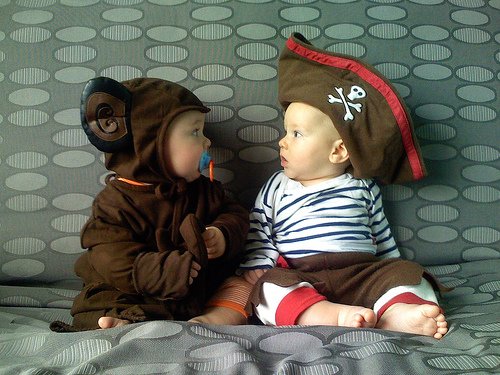
Clothes for a photo shoot should be primarily comfortable and reflect the individuality of the child. Usually bright monochrome things look good. You can take a couple of sets to change for different locations.
— 12 —
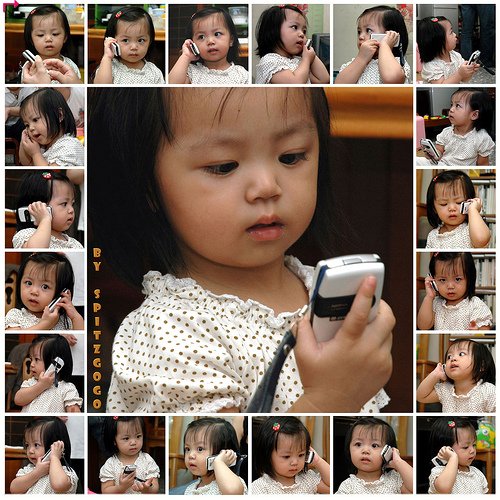
Serial shooting can give a very interesting result, especially when the child is in motion (riding a bike, dancing, riding a swing). Then you can make a collage of several frames or overlay images on top of each other.
— 13 —
Involve people close to the child in the shooting process. If he is in front of the camera with his mom, dad, grandmother, brother, sister or friend, he will feel calmer, and you will get warm family stories in the pictures.
— 14 —
Do your best to make the photos as fun as possible. Have fun yourself from the heart and involve the child in this process. Eventually he will relax, forget about the camera, and then your pictures will have that sincere energy that is so valuable in children's photos.
